Classroom set-up is my favorite back to school task! It is time to deck out our classrooms! Easily one of the best and most stressful parts of being a teacher. I have some tips on how to make classroom set-up efficient and stress free.

LISTEN ON: APPLE PODCAST | SPOTIFY
1. Prioritize
If you want to do something magical in your classroom to make it homey and special, great! Do it. But get your room ready for students first. Unpack the boxes, set up the library, organize the supplies, get the desks in the right configuration first. Do what has to be done before you do what you would like.
Here is a priority list for classroom set-up:
- Set up furniture first. The placement of student desks, your teacher desk, small group table, doc cam, etc will help you determine where you should place your word wall or turn in bins. Even if many of these things (like the doc cam or the bins and supplies) are in boxes, having a layout in mind will give you a frame of reference. From there, I think you can be flexible. As you open boxes, determine what areas of your classroom make the most sense to set up.
- Set up your technology. It may require asking your campus technologist, but I always loved to do that first and usually they were happy to get started on my classroom.
- Organize your spaces. Do you want a student supply area? Where will you keep missing or absent work? How will papers and material be distributed? These are all things that aren’t necessarily furniture, but spaces in your classroom that when well organized and thought through, will help your classroom to run smoothly.
- Bulletin boards. If you are allowed, I highly recommend ditching butcher paper for either fabric or paint. And then when you do get to decorating your classroom, leave space for anchor charts or student work. I always loved to have an agenda board on one of my whiteboards that I would mark off with masking tape.
2. Come Prepared
Here is what you need to be successful on classroom set up day:
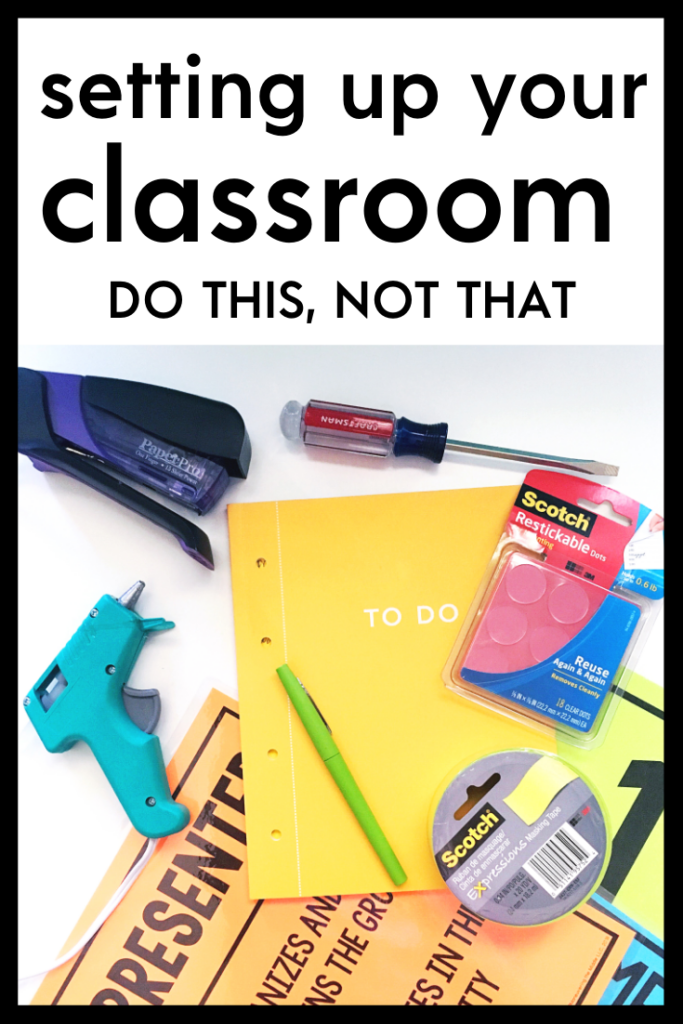
- Stapler, glue dots, etc
- Scissors – opening boxes, cutting bulletin borders, etc
- Toolbox (screwdriver/hammer) – tighten loose legs on desks or to hang trays
- Wipes/dusting cloths – everything will be filthy
- Step stool – a student chair doesn’t always provide the support or height you need
- Wear overalls or something with pockets to keep track of your stapler and scissors
We actually have a classroom poster pack that will make classroom set-up up a breeze. All you need is colorful cardstock, a printer, and a laminator (optional) to get your classroom ready for students. I was able to get most of my classroom prepped while watching Netflix since I was able to prep the posters at home. You can see them in action here:
3. Ask a friend for help
You can get help from a non-teaching friend, a teaching friend, or a kind husband/wife or mom/sister/child. Yes, two people make it go faster, but with two people, you can hang posters and your helper can tell you if it is straight or not. Too often, I hang posters that are not level AND IT DRIVES ME CRAZY ALL YEAR. An extra friend can also complete tedious tasks that don’t require a lot of direction, so you are free to use your brainpower elsewhere. My teacher friend had her mom set up and organize her classroom library, so she was free to set up her teacher desk space and files. My sister helped laminate and cut while I worked on setting up the word wall area. One year, a teacher friend and I took turns. We spent the entire day at my school and then traded and spent the entire day at her school. The amount you can accomplish with two people is exponential. Plus, it’s a good excuse to catch up and you can always treat them to a yummy meal as a thank you!
4. Make lists as you go
While you are working in your classroom, you will encounter tasks that you will need to complete. For example, I realized that I was missing the glue and sticker labels for my supply bins. Instead of stopping the task of classroom set up to make these two pesky little labels (these labels required printing/laminating/cutting), I added it to my to do list. This way I catch everything that I still need to do, but I can complete the tasks at a more appropriate time with other tasks that might also need to be printed/laminated/cut. In addition to a to do list, make a shopping list of items that you need to purchase. My sister and I were meticulous this year in planning and preparing for decorating, but I still ran across items that I wanted to replace or items that I forgot to purchase.
5. Purchase with Purpose
I like to also call this avoid the Target Dollar Spot! First, the dollar spot now has $7 items which quickly add up, but also you will end up with a bag of goodies that cost $30 and really has no impact on your classroom or your organization. Please learn from my mistakes:
- Unless you are confident you will use it, you may want to avoid an expensive paper planner.
- You will be cleaning out your cupboards and find a target sack with various junk from the dollar spot…just keep walking unless you know you need it!
- Just because something is very cheap at the beginning of the year — doesn’t mean you will actually use it
- Don’t be afraid to ask for a few things at your open house or via an Amazon list. As a parent, I love to grab a set of white board markers or a few boxes of tissues at the store for my sons’ teachers.
Keep a running shopping list on your phone while you work in your room and make one trip to the store. The more often you have to walk through the store, the more likely you are to spend money.
I have learned that if my classroom is not ready before students arrive, it becomes a cumbersome task to complete throughout the year. It doesn’t have to be perfect and there should be blank spaces on the wall, but you also want to enjoy being there, you spend at least 8 hours a day there. So take heart! What systems do you have in place for your classroom set-up?
Maneuvering the Middle has been publishing blog posts for 6+ years. This blog post was originally published in the summer of 2016. It has been updated for context and clarity.
Hi! Does that colored masking tape leave residue on white boards? I use painter’s tape, but I’m kind of sick of blue. Thank you!
Hi! I use the Scotch Expressions tape and have never had any trouble. I have seen it at Target, Staples, and Office Depot. I love the different colors!
I’ve used aqua masking tape and green “frog” tape (basically green painter’s tape but more expensive) and they both came off of my boards really easily. I also use a little bit of rubbing alcohol in a spray bottle after removing tape and it cleans up my boards like new.
I use electrical tape and it has never left a residue. Plus, it comes in so many different colors besides just black!