What I love so much about inequalities are the infinite solutions. For so much of students’ previous math experience, there is one exact answer. When it comes to inequalities, it is fun to push students to think of their answers beyond “x<4” and brainstorm all of the infinite solutions that x can be and then connect it to the graph.
- Can x be 3.9999?
- Can x be 4?
- Can x be -100?
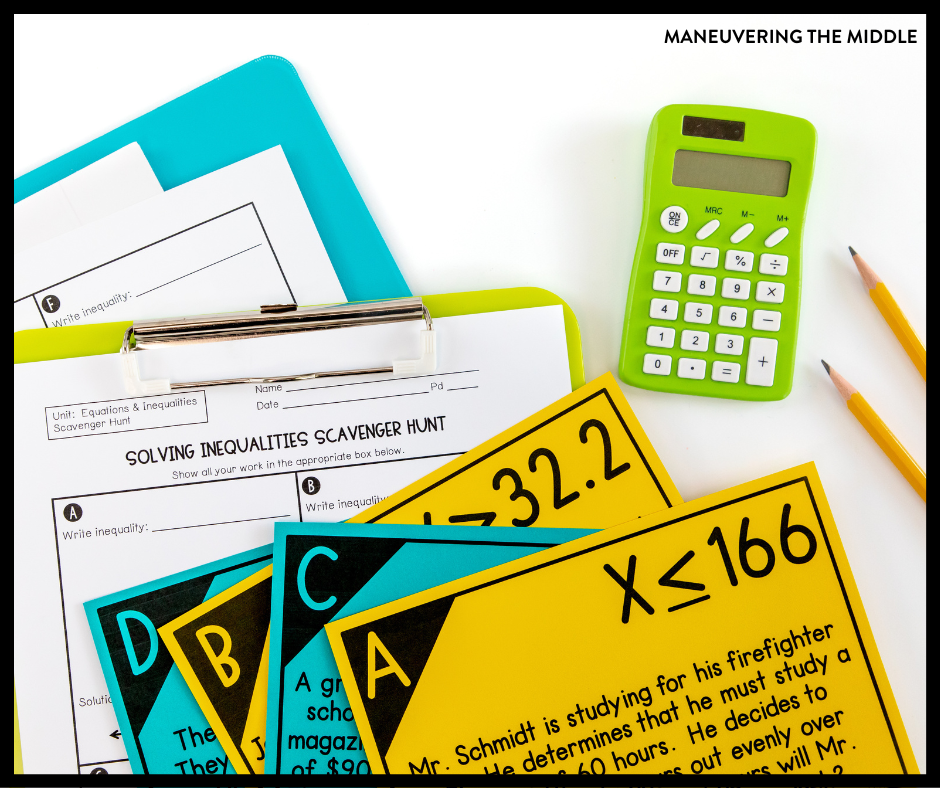
Below, I have outlined a few ideas and things to consider when planning to teach one- and two-step inequalities.
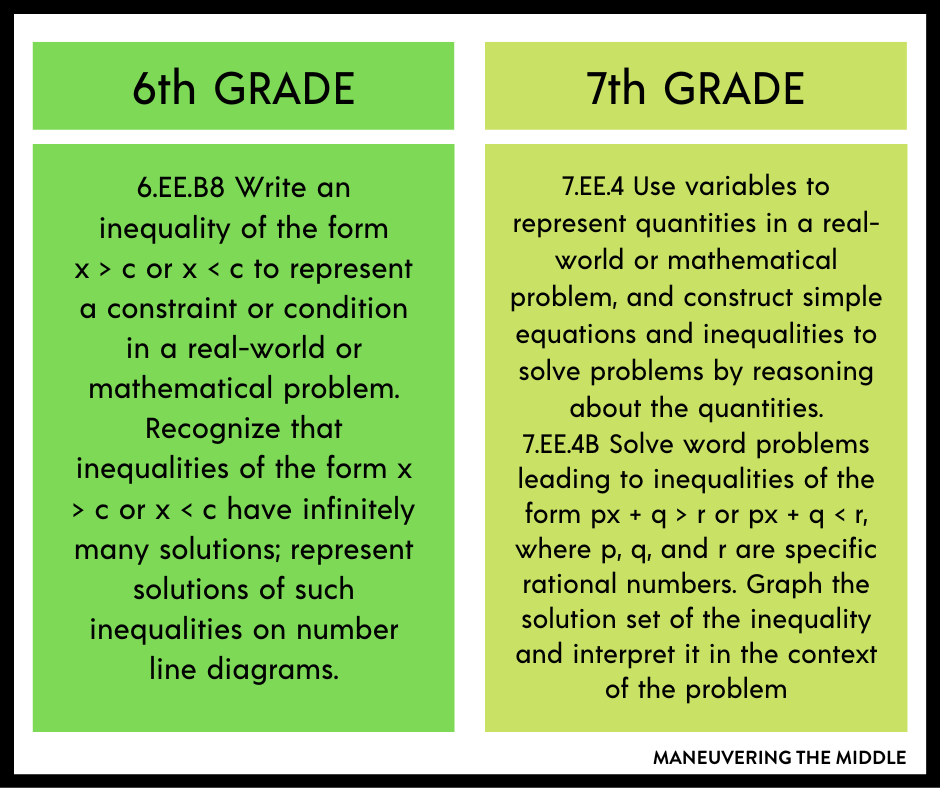
Let’s take a look at the standards, shall we?
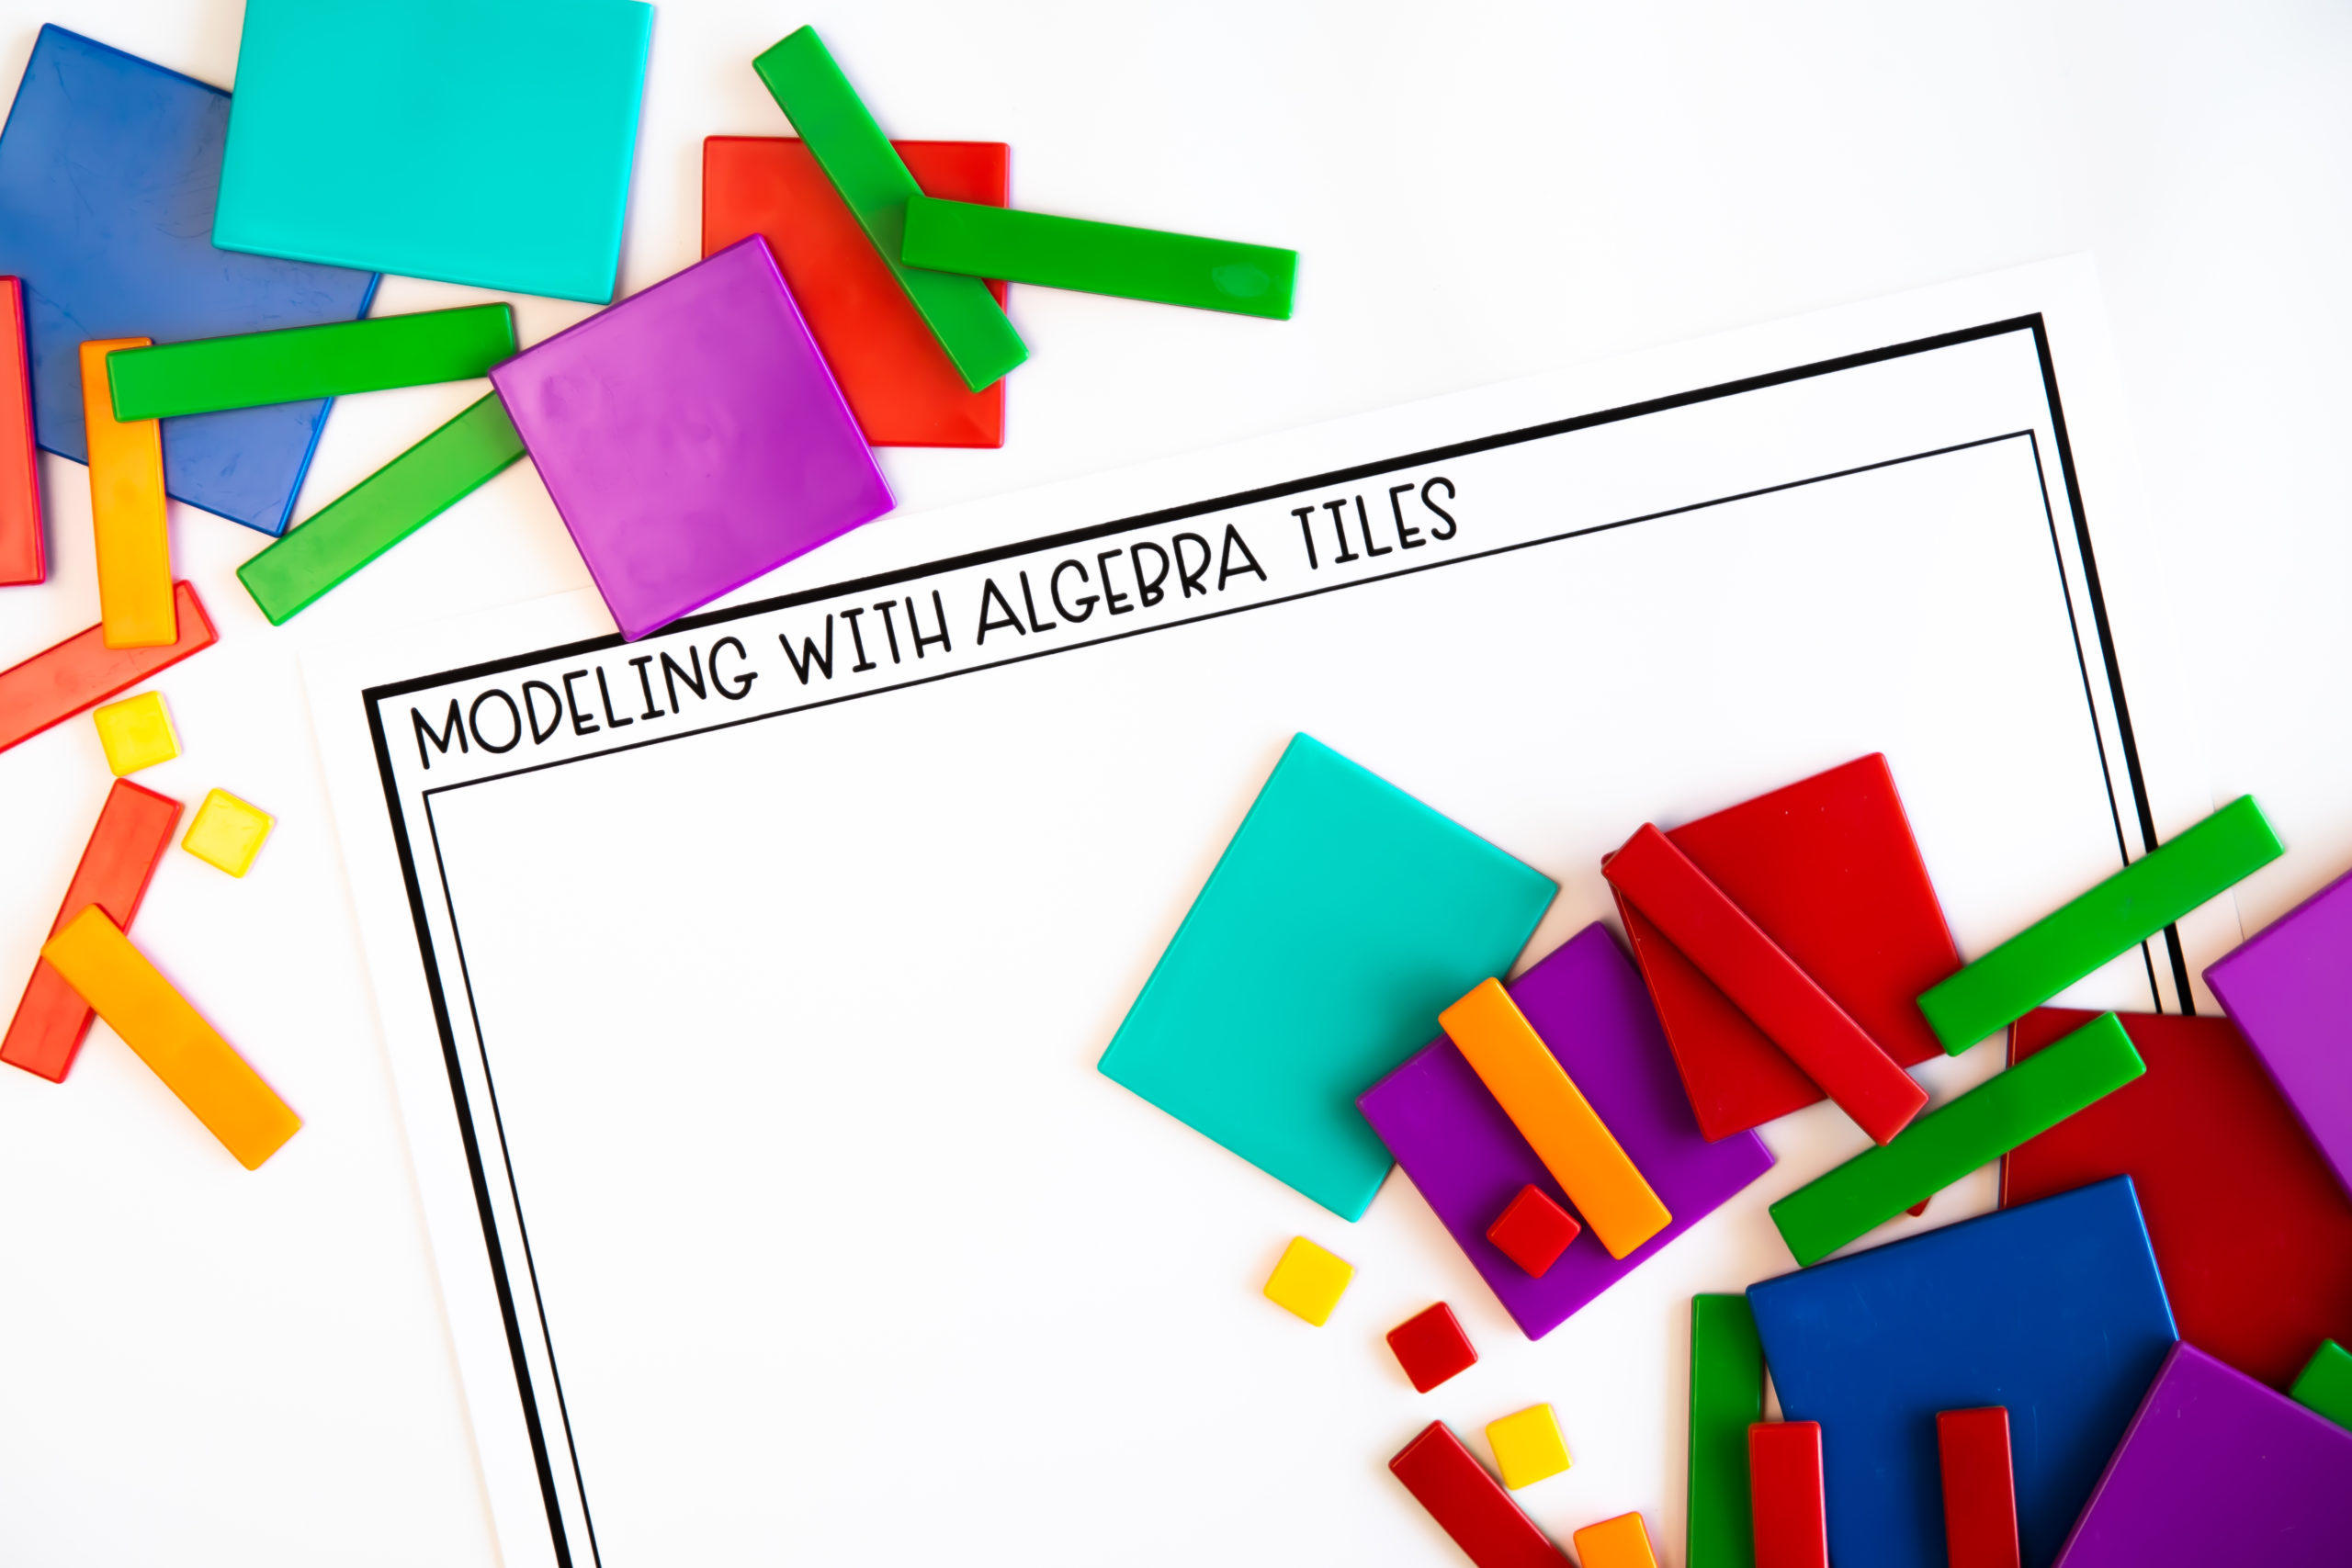
Many of my recommendations for solving one or two-step inequalities are the same as solving one and two-step equations. This post talks about how using algebra tiles is my favorite practice.
Something I did not learn until I was teaching is the why behind changing the sign when you divide or multiply by a negative number. As
You can do whatever you want to an inequality as long as it is done to both sides, it will remain a true statement.

This is true of inequalities with one exception. If you multiply or divide by a negative number, the inequality becomes untrue.

While this mistake still persisted, I found that my students did much better than previous groups in remembering to flip the sign.
Able to Read an Inequality Statement
Another big misconception that I have found to be true is the “alligator.” Sure, “the alligator eats the bigger number” works when you are comparing 3 and 7, but what about when it’s 3 and -7 or 4x and 6? Students need to be able to read an inequality statement and explain what it means in terms of the numbers around it. They need to feel confident choosing a number for x to test the inequality.
I have found the students struggle identifying “<” as less than and “>” as greater than, so when they do solve an inequality and they are left with x<4, they don’t actually know what that symbol means. 1<4 is something that a student can say but replace one of the numbers with a variable and the inequality becomes unclear. This is definitely a trick, but showing students how the less than symbol can be slightly rotated to be an L will allow them to actually state, “x is less than 4.”
Using Number Lines
The graph can seem like one more thing to do, but the solution(s) and the thinking lies within the graph. The number line representation is a perfect visual to actually get students talking about the potential solutions. Some questions to get students thinking:
- What is a value of x that is in the solution set? Is there another?
- Why is _____ not a solution to inequality? What other numbers would not be a solution?
- Describe the process for graphing the solution.
- Given the graph, what inequality statement best describes it?

When we are given a graph and are trying to figure out what inequality is the match, I avoid the trick that the arrows should match the inequality sign. Instead I might ask:
- What are the potential solutions?
- Are the potential solutions greater than or less than the given amount?
- When I substitute a solution into X, is the original inequality true?
Common Misconceptions
- Forgetting to change the inequality sign when dividing by a negative number
- General confusion when the answer is “4 > x” or written with the constant on the left
- Unclear of what number is considered a solution
- Unable to make connections between the inequality and the actual solution on the number line
- Writing inequality statements from situations when the terms “less than” or “greater than” are not included
Anchor Chart Ideas
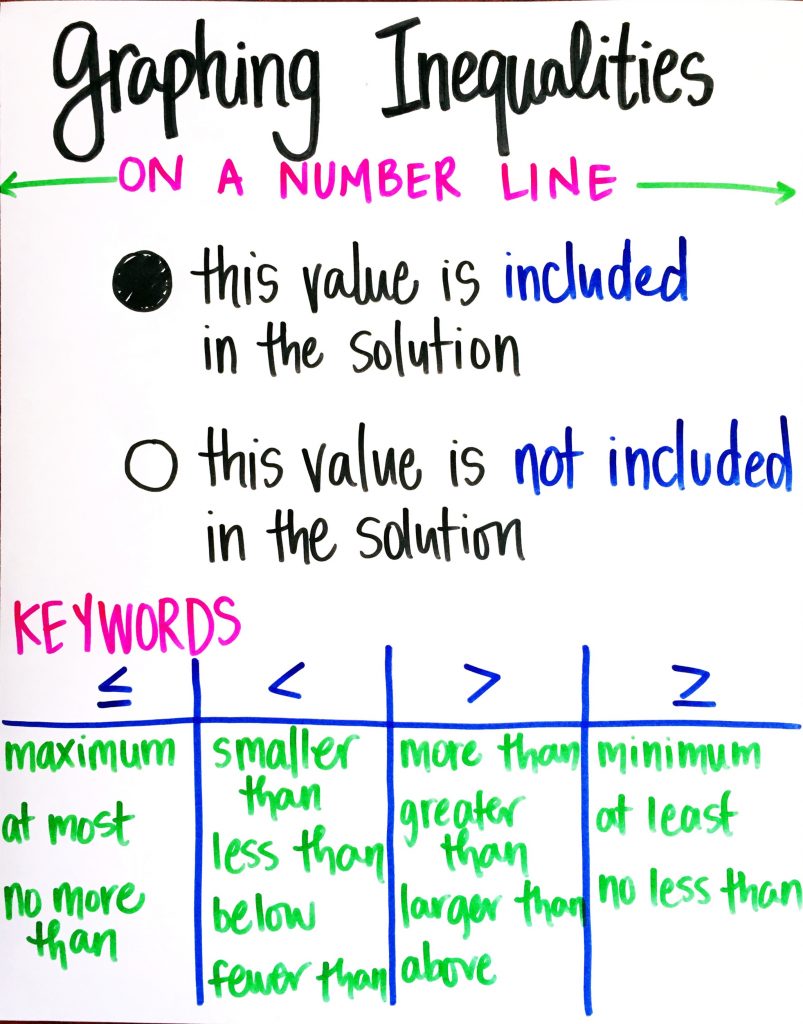
Anchor charts are fabulous ways to showcase the content in a visual manner for students to reference. They can easily be created before the lesson or as you are teaching, depending on the content. This example includes the emphasis on vocabulary, as students tend to struggle with writing inequalities.
The real-life example that I think students have the most understanding of is related to movie ratings and/or height requirements for roller coasters. These very real-life experiences will help students understand the terms minimum means greater than or equal to. The minimum height you can be to ride this roller coaster is 48 inches. That means you can be 48, 49, 50 … inches to ride. Similarly, a person must be the minimum age of 17 to purchase an R-rated movie ticket.
Maximum was also another term that confused my students. Again, relating it to something that students experience daily seemed to do the trick. I would use seat belts as an example. I would ask students how many seat belts were typically in a car (or their car). Then I would say that the maximum number of people that could safely ride in said car was, let’s go with 5, which means 5 people or fewer could ride in the car. Maximum meant less than or equal to.
IDEAS FOR STRUGGLING STUDENTS
- Bring out the manipulatives – algebra tiles, pattern blocks, etc – have students group like items
- Break down the steps into a simple checklist
- Go back to positive whole numbers to see if students are struggling with the concept or the mathematical skills
- Give students a possible solution and ask them to work backwards
Hopefully, this gives you some ideas for teaching one- and two-step inequalities or even insight as to what knowledge your students are coming with. I would love to hear other great activities or ideas you have used! Feel free to share in the comments.
Be sure to check out these resources for inequalities:
- 6th Equations and Inequalities Unit (TEKS)
- 6th Equations and Inequalities Unit (CCSS)
- 6th Grade Equations and Inequalities Activity Bundle
- 7th Grade Equations and Inequalities Unit (TEKS)
- 7th Grade Inequalities Unit (CCSS)
- 7th Grade Inequalities Activity Bundle
How do you teach inequalities?
That’s a wonderful technique of teaching children about one and two step inequality topics. Kids require to understand math concepts properly before dealing with problem solving. Thank you very much. Keep sharing this more and more!
Devoir math